🚪 Getting Started
The EQUOS app is where the day-to-day work happens once your account is set up. This page will guide you through opening the app, signing in, the first-run tour, the modules along the side, and switching between your businesses and locations — so you know where everything is before you start.
This picks up where Quick Start leaves off. That page covers creating your account and choosing a plan in the console; here we assume you already have an account and are ready to open the app itself.
Opening the app
EQUOS runs in any modern browser — Chrome, Safari, Edge, or Firefox — with nothing to install, so you can simply go to your usual EQUOS address and sign in. There are also mobile apps for Android and iOS and a Windows desktop assistant, all sharing the same account and data. See Platforms for what runs where.
Signing in
On the sign-in screen you have three ways to get in:
- Enter your email address and password.
- Continue with Google, if that is how you set up your account.
- Use single sign-on, if your organisation has it switched on.
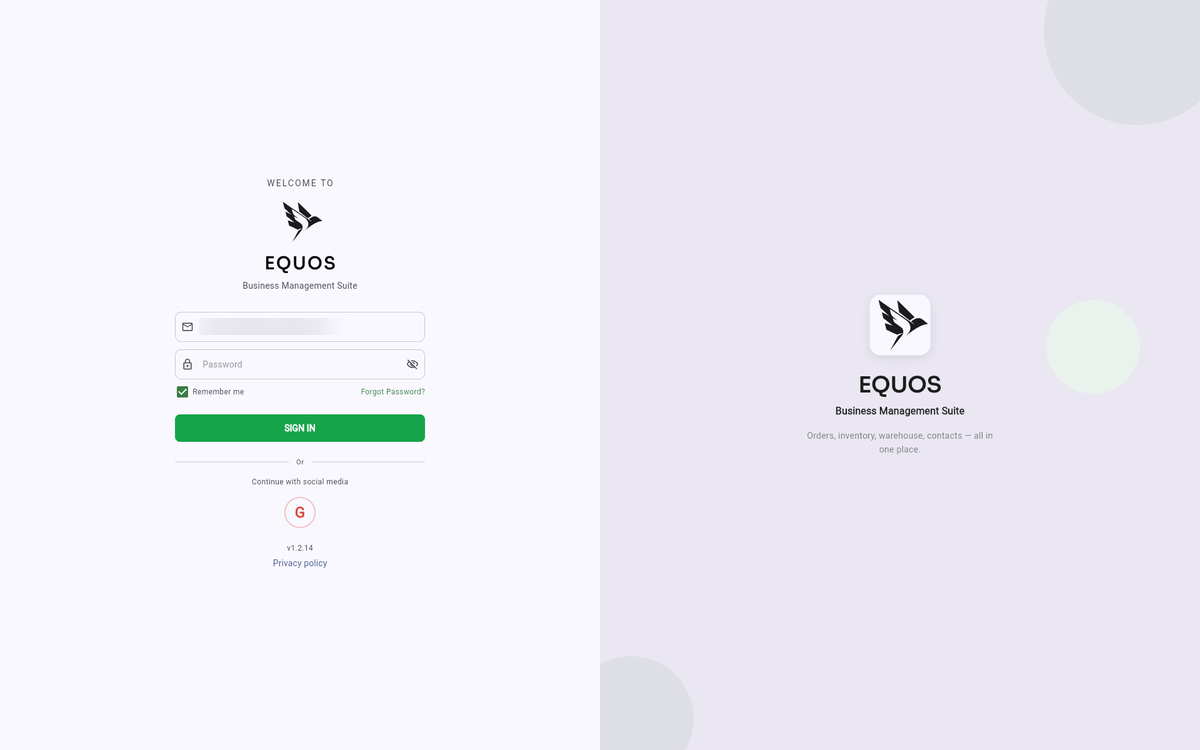 The sign-in screen. Enter your email and password, or continue with Google.
The app remembers your email between visits, so you only need to type it the first time. If you have forgotten your password, use the reset link, which takes you to the console to set a new one.
Open EQUOS in your browser (or a mobile or desktop app), then sign in with your email and password, with Google, or with single sign-on. It is the same account everywhere.
Your first run
The first time you sign in, EQUOS shows a short guided tour that opens on a "Welcome to EQUOS" page. The tour walks you through each module your plan includes, one at a time, so you get a feel for what the app does before you dive in. This helps you find your way around from the very first session.
- Press "Get Started" to step through the tour.
- Press "Skip Tour" at any point if you would rather jump straight in.
The tour is just an introduction — it does not ask for any business details, and nothing is lost by skipping it. Whether you finish it with "Go to Dashboard" or skip it, EQUOS marks it as done and drops you on your dashboard. You will not see it again on later sign-ins.
Finding your way around
Once you are in, the module rail down the side is your main way of moving around. Each entry opens one area of the app:
- Dashboard — your landing overview, with the day's key figures.
- Order Manager — sales and purchase orders through their stages.
- Inventory — stock levels across every location.
- Manufacturing — recipes, production tasks, and breaking down bulk.
- Contacts — your customers, suppliers, and partners.
- Transport — consignment jobs and freight quotes.
- Warehouse — receiving, picking, packing, and bins.
- Stocktake — counting sessions and reconciliation.
- Reports — generating and exporting reports.
- Settings — your profile, printing, notifications, and backups.
Which modules appear depends on your plan, so you may see fewer than all ten. If you open an area your plan does not include, EQUOS lets you know rather than leaving you stuck. See Plans & Billing for what each plan unlocks.
Switching business and location
If you look after more than one business, the business and location selectors sit in the top bar, up beside your notifications and profile. Choose a different business to move your whole view across to it, and choose a location to focus the warehouse and stock areas on one site. This ensures you are always working in the right set of records.
Where to go next
- Dashboard — read your landing overview and jump into your work.
- Orders — raise and track sales and purchase orders.
- Inventory — keep stock accurate across every location.
- Contacts — build your directory of customers and suppliers.
- Plans & Billing — see which modules your plan includes.