🗂 Chart of Accounts
The Chart of Accounts is the foundation of your books — it lists every account you use to categorise your financial transactions. This page will guide you through viewing, filtering, and customising it.
The wizard seeds this list for you from the industry template you chose during Business Setup, so you rarely start from scratch. From there you can shape it to fit your business.
Viewing accounts
Open Chart of Accounts from the sidebar to see your full list. A count at the top (for example, "40 accounts configured") tells you how many accounts your business has. Each row shows the account's Code, Name, Type, Subtype, and Balance, with an "Edit" link at the end of the row.
Accounts are grouped by type — Asset, Liability, Equity, Income, and Expense — and sorted by their code, which keeps related accounts together.
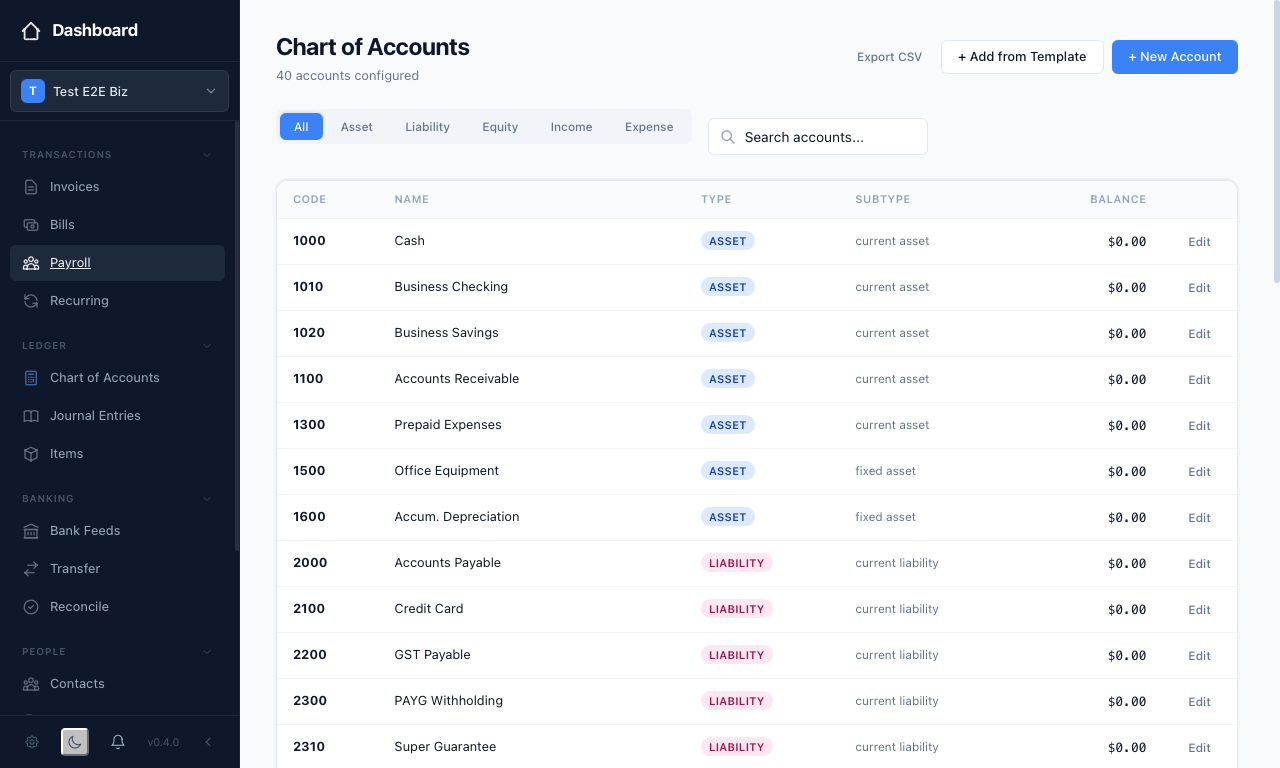 The Chart of Accounts, sorted by code and grouped by type.
Filtering by type
The tabs across the top — "All", "Asset", "Liability", "Equity", "Income", and "Expense" — let you show only one type at a time. This makes it easy to find related accounts quickly when your list grows. You can also use the "Search accounts…" box to jump straight to an account by name or code.
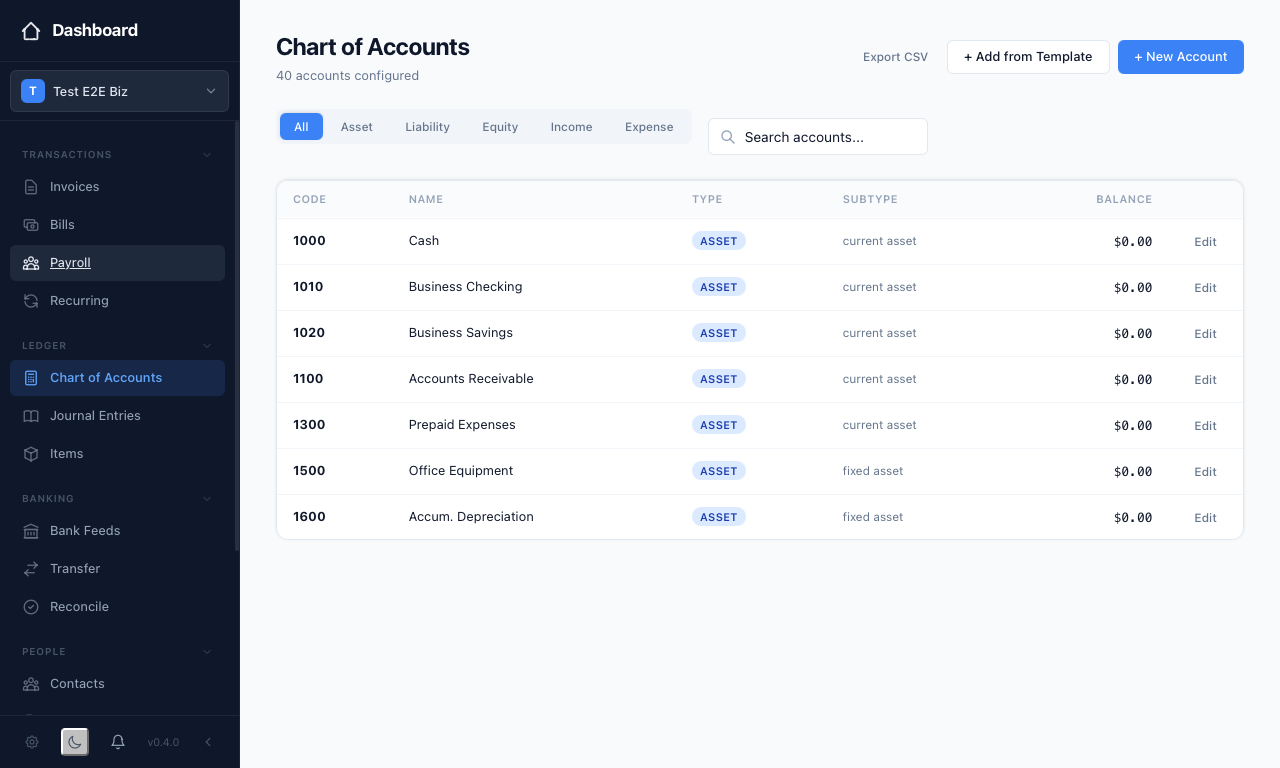 The list filtered to Asset accounts.
Creating a new account
Press "+ New Account" to add an account of your own. You give it a:
- Code — a numeric code that sets where it sits in the list (for example, 1100 or 4200)
- Name — a descriptive name, such as "Merchant Fees"
- Type — Asset, Liability, Equity, Income, or Expense
- Subtype — a finer grouping within the type, such as "current asset" or "fixed asset"
Once saved, the account appears in the list straight away, sorted into place by its code. This ensures every transaction you post can be categorised consistently.
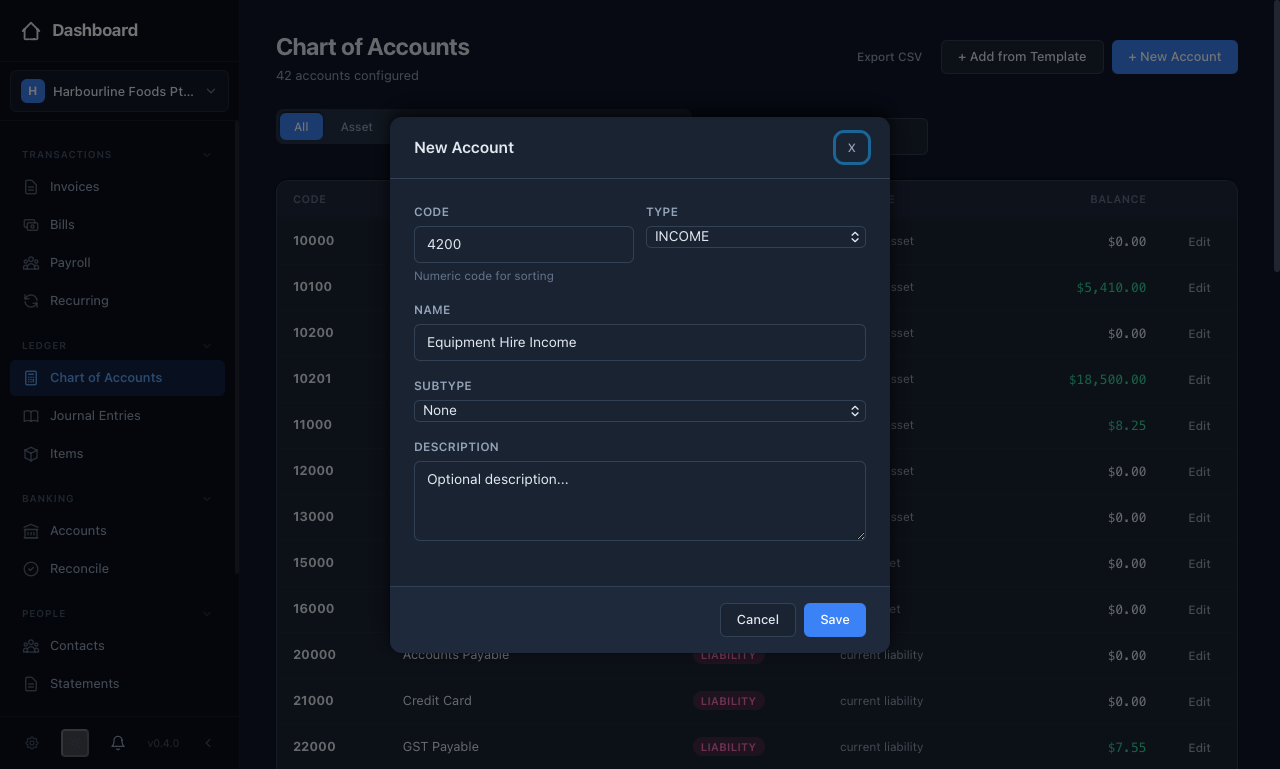 The "New Account" window, filled in for a new income account — "Code" 4200, "Type" INCOME, and "Name" "Equipment Hire Income".
Adding from a template
If you started from a minimal chart and later need more accounts, press "+ Add from Template". This lets you pull in predefined accounts rather than typing each one by hand — handy when you take on a new activity, such as payroll or inventory, that needs its own accounts.
Account codes and ordering
Accounts are sorted by their code, so a consistent numbering scheme keeps your chart tidy. A common Australian convention is:
| Range | Type |
|---|---|
| 1000–1999 | Assets |
| 2000–2999 | Liabilities |
| 3000–3999 | Equity |
| 4000–4999 | Income |
| 5000–6999 | Expenses |
Following this pattern means new accounts fall naturally into the right group as you add them.
Exporting your chart
Press "Export CSV" to download your full chart of accounts as a spreadsheet file. This is useful for sharing your account structure with your accountant or keeping a record outside the app.
Next steps
- Contacts — Add your customers and suppliers
- Invoices — Start creating invoices that post to these accounts
- Journal Entries — Post manual adjustments across your accounts