📝 Quick Start
Quick Start is the shortest path from a fresh account to your first order. This page will guide you through creating your account, choosing a plan, setting up your business, inviting your team, and adding your first contacts and inventory — so you are ready to work by the end.
Creating your account
Head to console.equos.one and press "Start free trial". Your trial runs for 14 days and needs no credit card to begin.
- Enter your email and a password to create your login.
- Confirm your email if prompted, then sign in.
- You will land in the console, where your business is set up.
If you decide not to subscribe, your data is kept for 30 days after the trial ends, so you can pick up where you left off if you change your mind.
Choosing a plan
EQUOS comes in three plans — Core, More, and Complete — and you can start on any of them during your trial. Choose the one that matches how much of your operation you want to run in EQUOS. You can change plans later, so pick the closest fit for now.
- Core covers order management.
- More adds warehouse management on top of Core.
- Complete includes everything, with freight built in.
See Plans & Billing for the full breakdown and pricing.
Setting up your business
Your business is the home for everything you do in EQUOS. Fill in your business details so invoices, orders, and reports carry the right name and address.
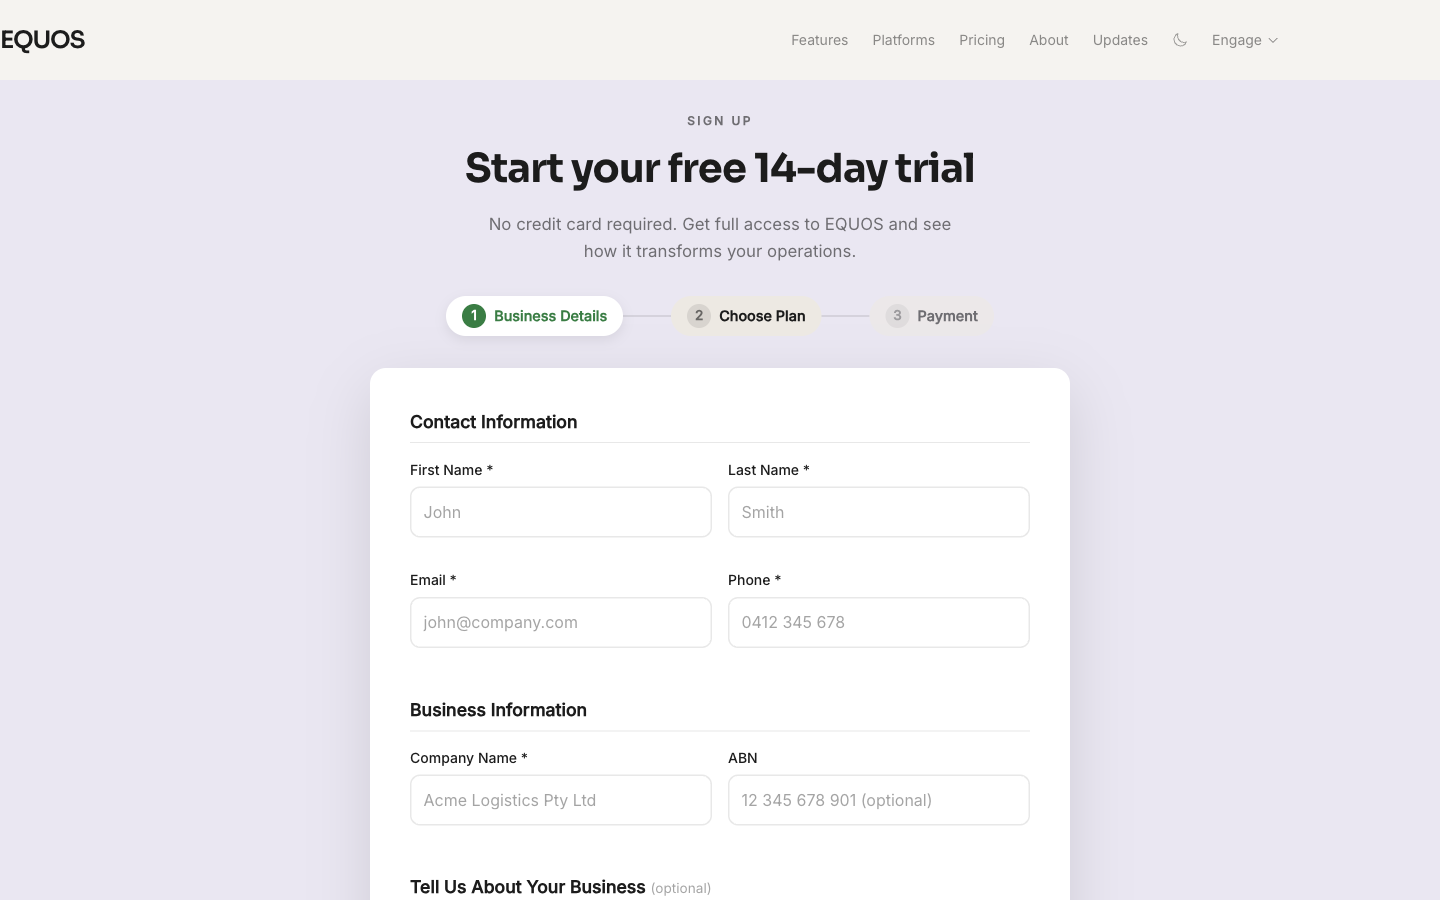 The first step of sign-up, where you enter your contact and business details.
- Enter your business name, address, and contact details.
- Set your locations — you can add as many as you need at no extra cost.
Inviting your team
EQUOS includes unlimited users on every plan, so there is no reason to share a login. Simply invite each person who needs access.
- Open your team settings and press "Invite".
- Enter each person's email and choose their role.
- Roles use role-based permissions, so each person only sees what they need. This helps prevent accidental changes to areas outside their job.
Adding your first contacts and inventory
Before you raise an order you will want your customers, suppliers, and stock in the system. You can add these one at a time, or bring them across in bulk.
- Add a contact from the Contacts area, or use CSV import to bring your whole directory in at once.
- Add your stock items in Inventory, again either one by one or by CSV import. This ensures your stock levels are accurate from the very first order.
Creating your first order
With contacts and stock in place you can raise your first order.
- Open Orders and press "Create Order".
- Choose the customer or supplier, add the items, and set the quantities.
- Save the order to move it into your workflow, where it feeds warehouse, dispatch, and invoicing.
Where to go next
- Orders — sales and purchase orders, status, and approvals.
- Inventory — stock across every location, with alerts and audit history.
- Plans & Billing — compare plans and understand billing.
- Platforms — where you can use EQUOS.
✨ Congratulations, you have set up EQUOS and placed your first order ✨